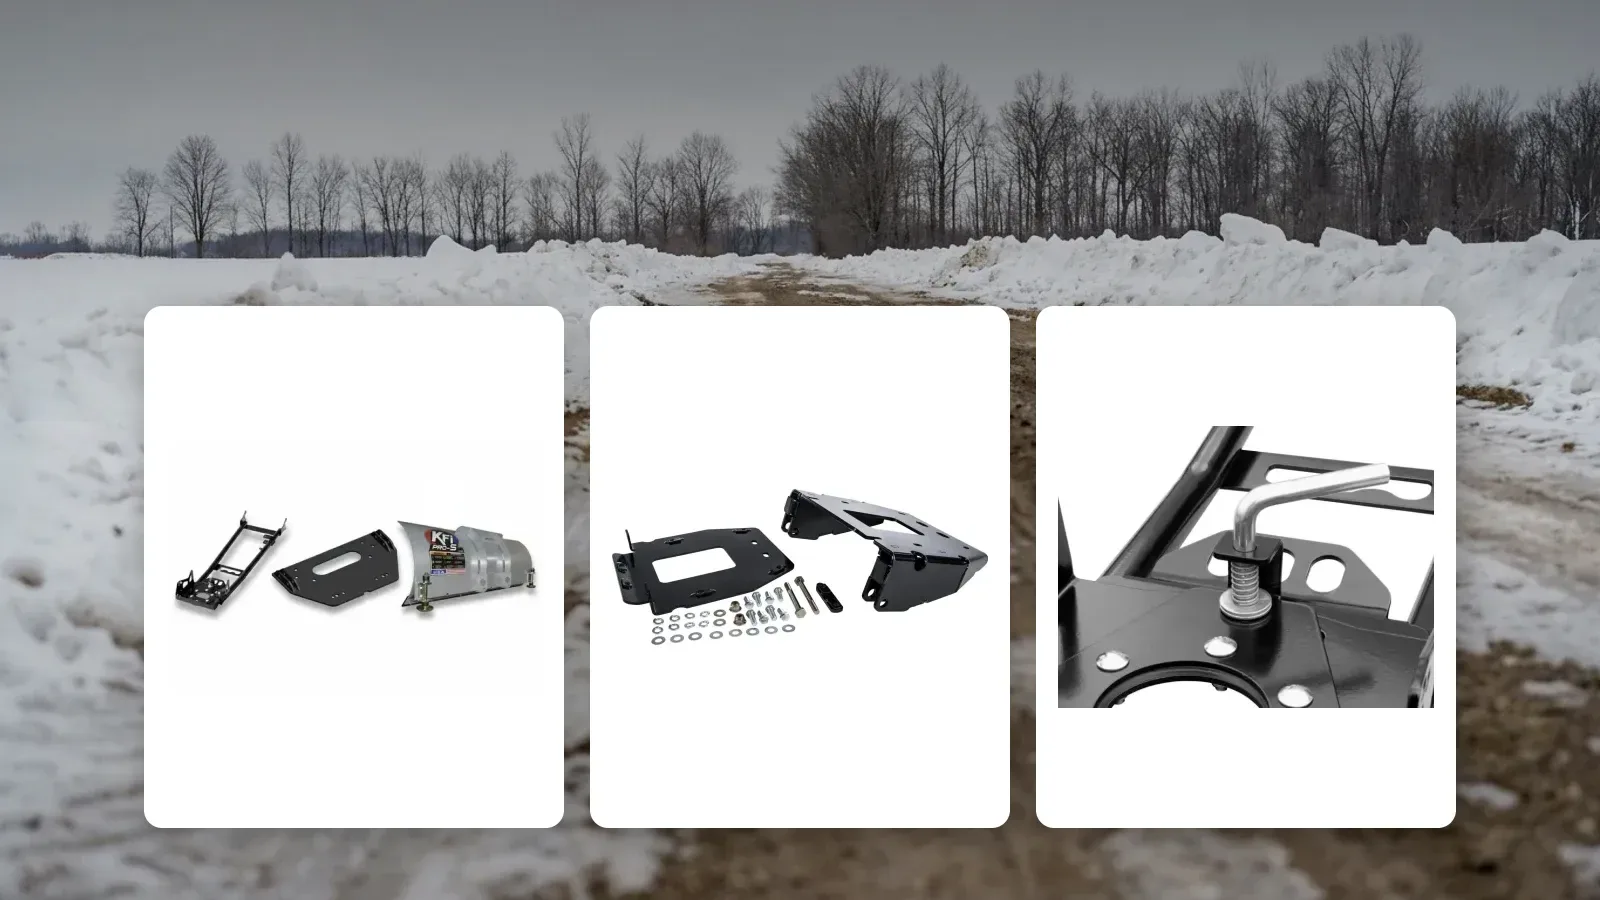
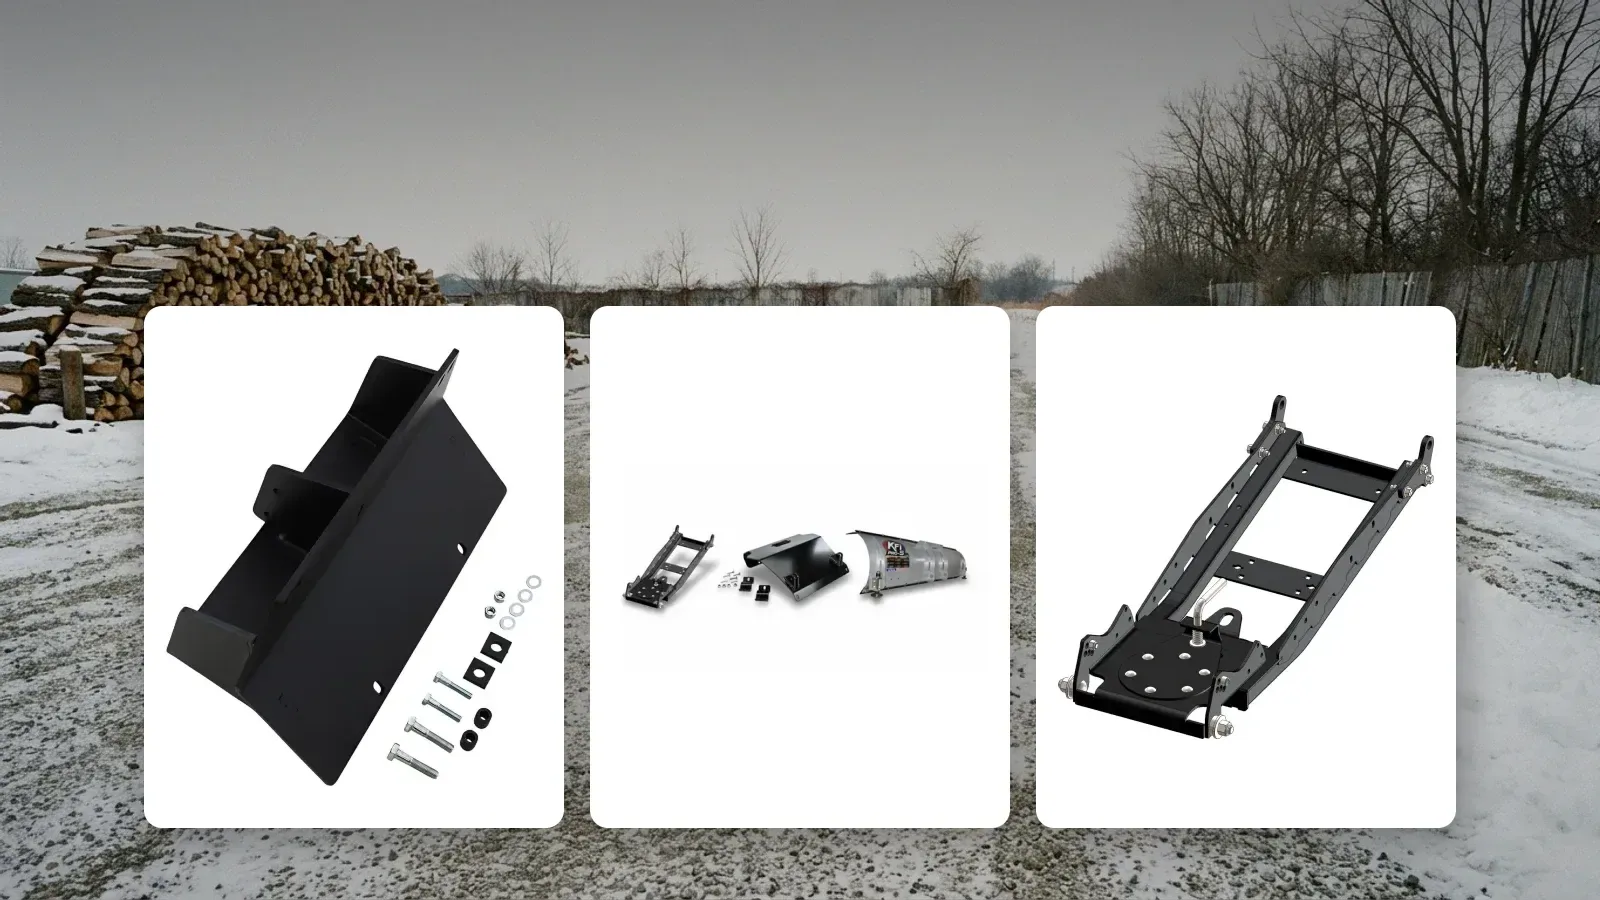
For UTV snow plows, start with a mount made for your exact side by side, then match the push tube and blade or kit system to that mount and the work ahead. Pick blade width after you consider wet or deep snow, turning room and storage, then inspect the skid shoes, winch and load-carrying parts before the first plowing job.
Start with the complete UTV plow setup
A complete UTV plow setup is more than a blade. Build it from the plow mount or mount kit, the push tube, the frame that carries blade load back to the mount, the blade or kit system and any needed skid shoes.
Start in the PirateMX Snow Plows collection with your SxS and clearing surface in mind. A wet gravel drive needs different blade control than a paved lot or a narrow trail, and the available turning and storage room can rule out an overly wide setup.
Use the collection to build the parts list, then read each product listing for compatibility, included components, material and the other system pieces it requires.
Confirm the mount before choosing the blade
Record the make, model, year and trim of the machine before comparing plow parts. Start with the machine-specific UTV Plow Mount or mount kit, then find the push tube and blade or kit system intended to work with that mounting plan.
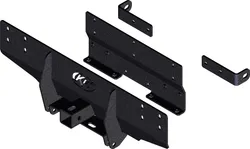
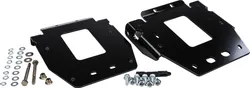
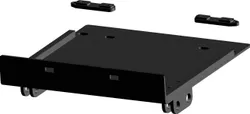
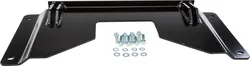
Some Plow Mount listings cover mount kits, while a few are for V-plow setups. Do not assume the category name means the push tube, blade or other components are included. Read the included-parts information in the individual listing.
Check fitment for your exact year, make and model before you order.
Shop the parts
Plow Mount
Choose a blade system and width for the job
For an open drive or lot, a wider blade can clear more snow per pass. It also takes more room to turn and store, and it puts more load into the SxS in deep or wet snow. A narrower blade is easier around gates, parked vehicles and tight trail sections, but it requires more passes.
KFI Snow Plows come in widths of 48, 50, 54, 60, 66 and 72 inches. Snow Plow Kit System choices come in widths of 48, 54 and 72 inches. Make sure the blade can carry snow outside the tire path when angled, without choosing more width than the machine and work area can handle.
Most Snow Plow Kit System listings are straight-blade systems and name steel as the material. Among KFI listings, a few name steel and a few name poly, while the rest require a check of the product details. Poly is often chosen to reduce carried weight and allow some flex, while steel provides a rigid working surface. Actual weight and behavior still depend on the complete blade design.
PirateMX carries Snow Plows from KFI and Moose Racing. KFI represents 88% of what PirateMX stocks in this category, so most riders shopping here end up building around a KFI system rather than choosing between an even brand mix. The Moose Racing snow plow mounting plates are mounting components, not complete blade systems, so verify every required part before ordering.
Plan for the parts that take the load
Review the mount, push tube, blade and skid shoes as a working assembly. Supporting choices include mid-mounted push tubes, UTV push tubes, a push tube reinforcement kit and skid shoes. A reinforcement kit is not a universal add-on, so follow the listing and system instructions for the planned setup.
On gravel, skid shoes help the blade ride over loose material instead of digging into it. Inspect them for wear and set them for the surface you plan to clear. Also look over the blade edge, pivot points, push tube connections and mount for wear, bends or damaged hardware.
If the SxS will travel between plowing jobs, check clearance with the plow in its travel position and make sure every latch or pin is secured. Test the machine in the same configuration it will use all winter, with the cab, roof and windshield installed if they will stay on. Confirm that visibility, control access and wiring remain clear.
Run the winch through its lifting and lowering range before the season. Watch the line path, attachment point and electrical operation under the actual plow load rather than testing the winch with nothing connected.
Get the setup ready before plowing season
Research and order early enough to match the mount, push tube and blade or system before snow is forecast. Install the setup while there is time to correct a missing or mismatched component, then work through the product instructions before putting the machine away ready to plow.
For a complete-system route, review the Snow Plow Kit System listings. These are primarily straight-blade systems, but the listing still needs to confirm what is included and what mount or supporting parts the machine requires.
- Inspect the mount and attachment areas for damage, movement or missing hardware.
- Connect the push tube and verify that its latches, pins and pivots move and retain correctly.
- Check the blade edge, angle positions and skid-shoe condition.
- Run the winch through lifting and lowering while watching the line, fairlead, connection, wiring and control.
- Turn through the full steering sweep and inspect tire, suspension and body clearance.
- Practice attaching, removing and storing the setup before the first clearing job.
After the first plowing session, inspect the mount, push tube connections, blade hardware and skid shoes again. Wet or packed snow can expose movement that was not obvious during a dry test.
Shop the parts
Snow Plow Kit System
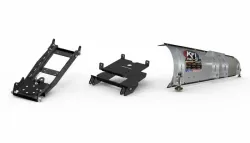
KFI UTV Snow Plow Kit 72 in Wide Steel Straight Blade
SKU: B-778733-S55
Condition: New
$936.85FREE Shipping
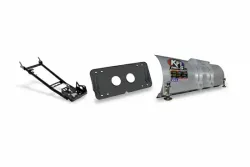
KFI ATV Snow Plow Kit 54 in Wide Steel Straight Blade
SKU: B-778736-S31
Condition: New
$678.85FREE Shipping
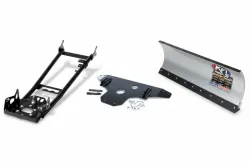
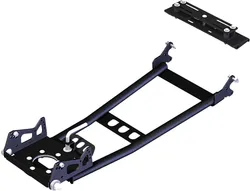
For Polaris and Kawasaki, start with exact fitment details
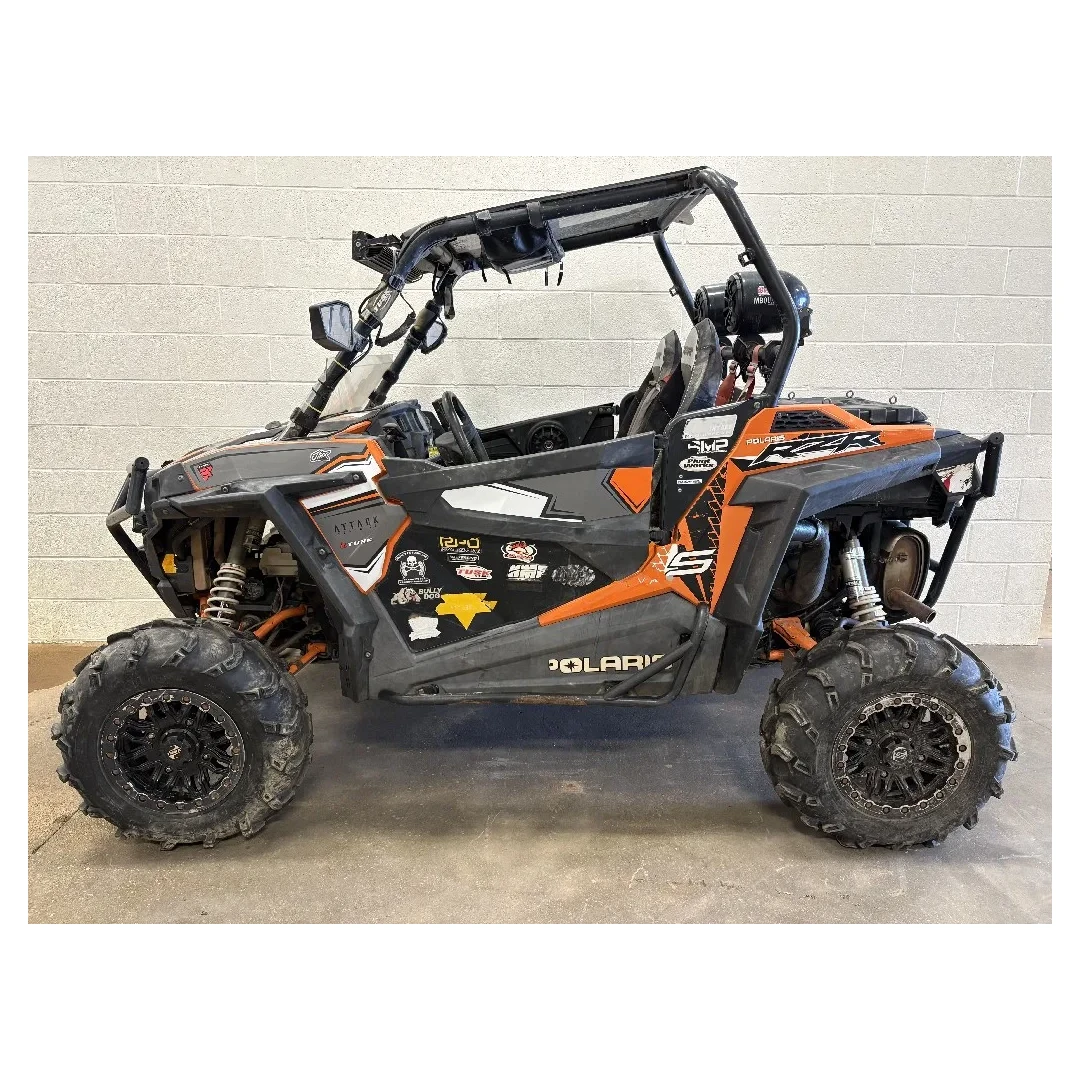
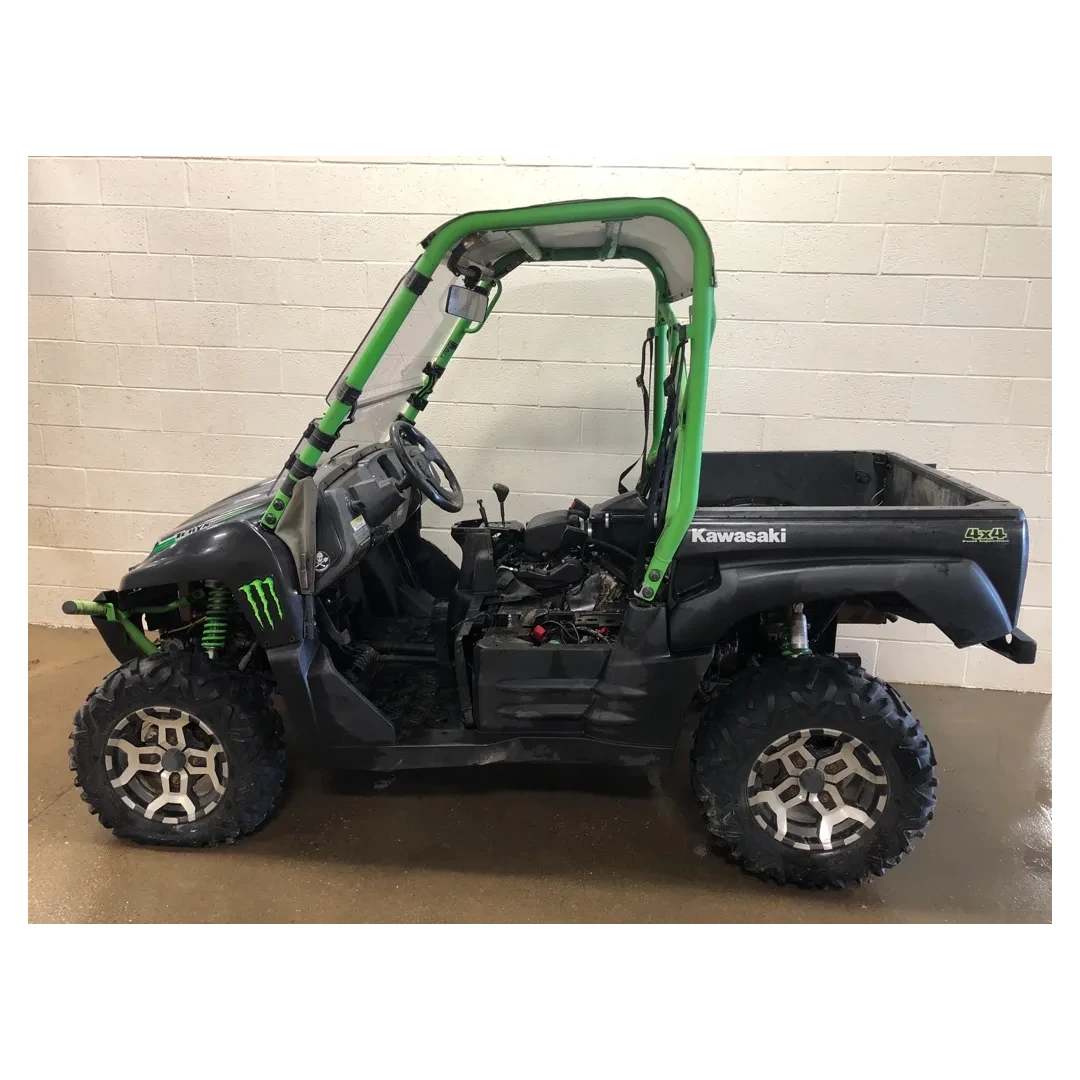
Use the model, year and trim shown on the machine when reviewing Polaris Snow Plows or Kawasaki Snow Plows. Do not carry over a mount choice from another SxS just because the body or chassis looks similar.
Once the mount is identified, continue through the push tube and blade or system requirements for that same machine. Keep the whole setup tied to the original fitment path.
For Can Am and Arctic Cat, match the mounting plan first
Bring the same machine record to the Can Am Snow Plows or Arctic Cat Snow Plows section. Identify the mount and required system components before comparing blade widths.
After the mounting plan is clear, use the actual job to narrow the blade choice. Tight parking areas and narrow trails favor maneuverability, while open clearing areas may make a wider system worth the added steering load and storage space.
For CF Moto and Yamaha, verify the full system
Keep the exact machine information tied to the setup while reviewing CF Moto Snow Plows or Yamaha Snow Plows. Match the mount, push tube and blade or kit system together rather than treating any component as a stand-alone choice.
Before the season, reopen the product listing and verify details that are not stated in the title. Pay close attention to blade material, included components and any supporting pieces required to finish the setup.
Frequently asked questions
Are UTV snow plows worth it?
A UTV snow plow is worth it if you regularly clear a driveway, lot or trail and have room to store the full setup. Plan for more than the blade, since you may need a machine-specific mount, push tube, skid shoes and winch connection. The setup also needs inspection after plowing wet or packed snow. Check fitment for your exact year, make and model before you order.